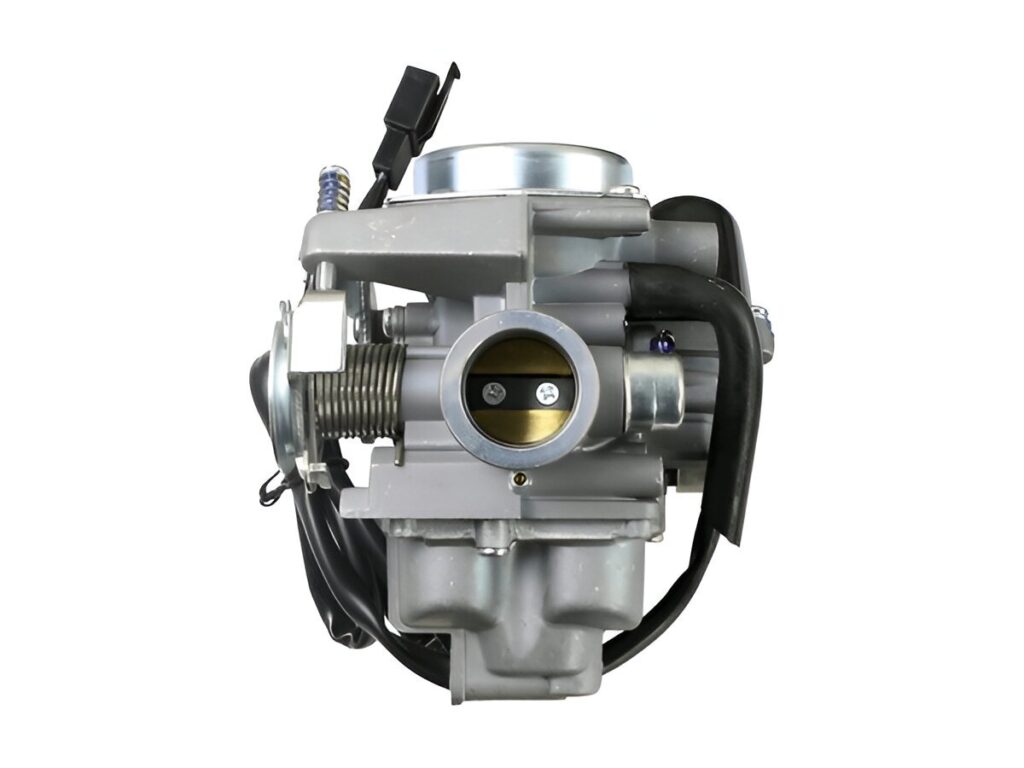
Master the art of cleaning a carburetor with our detailed guide. Follow our proven cleaning methods to improve your engine’s efficiency and extend its lifespan.
How to clean a carburetor
Here are three steps to follow to clean the carburetor.
- Opening the carburetor part by part
- Carburetor Cleaning
- Carburetor Refitting
Required Tools and Equipment
(a) Screwdriver
(b) Tachometer
(c) Vacuum gauge
(d) Paraffin
(e) Oil pan
(f) Air jet
(g) Ring wrench, etc.
step1: Dismantling the Carburetor
1. First, disconnect the fuel connection line (the line from the accelerator pump) to the carburetor.
2. Disconnect the air cleaner and the accelerating device.
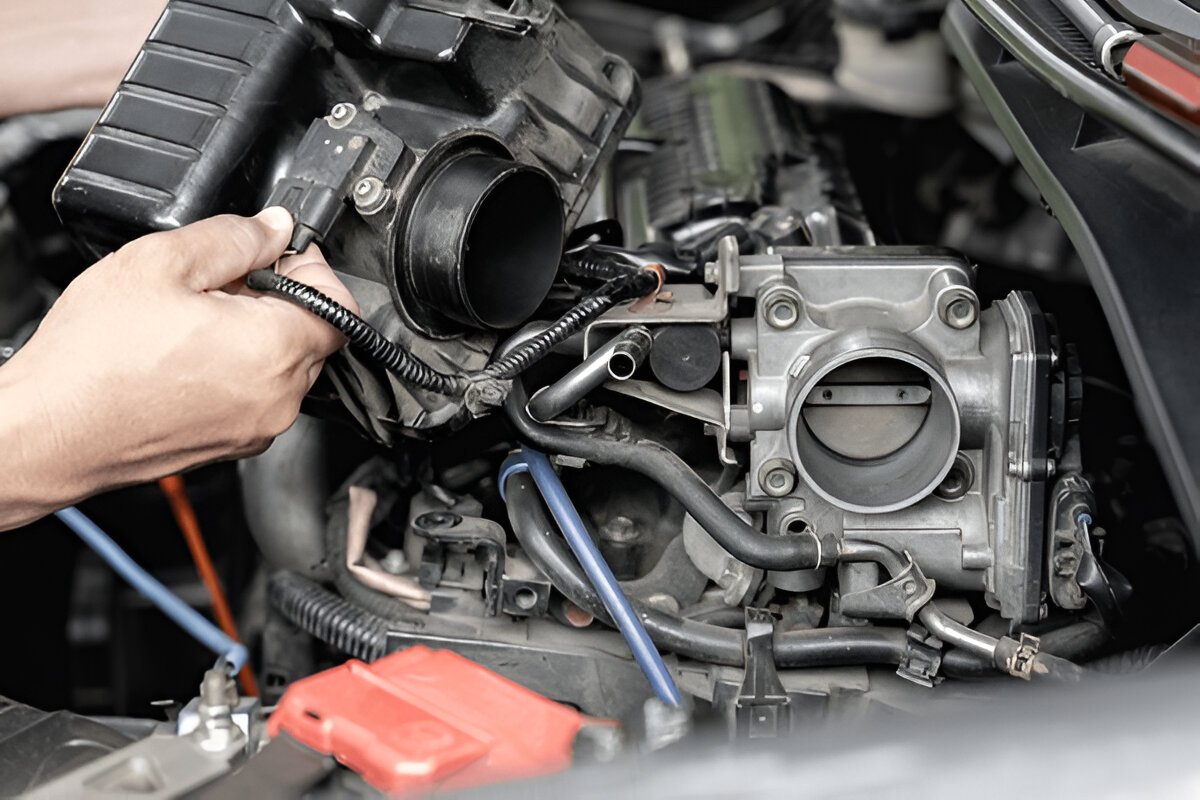
3. The carburetor intake is located on the manifold with two bolts. Remove these bolts to detach the carburetor from the engine.
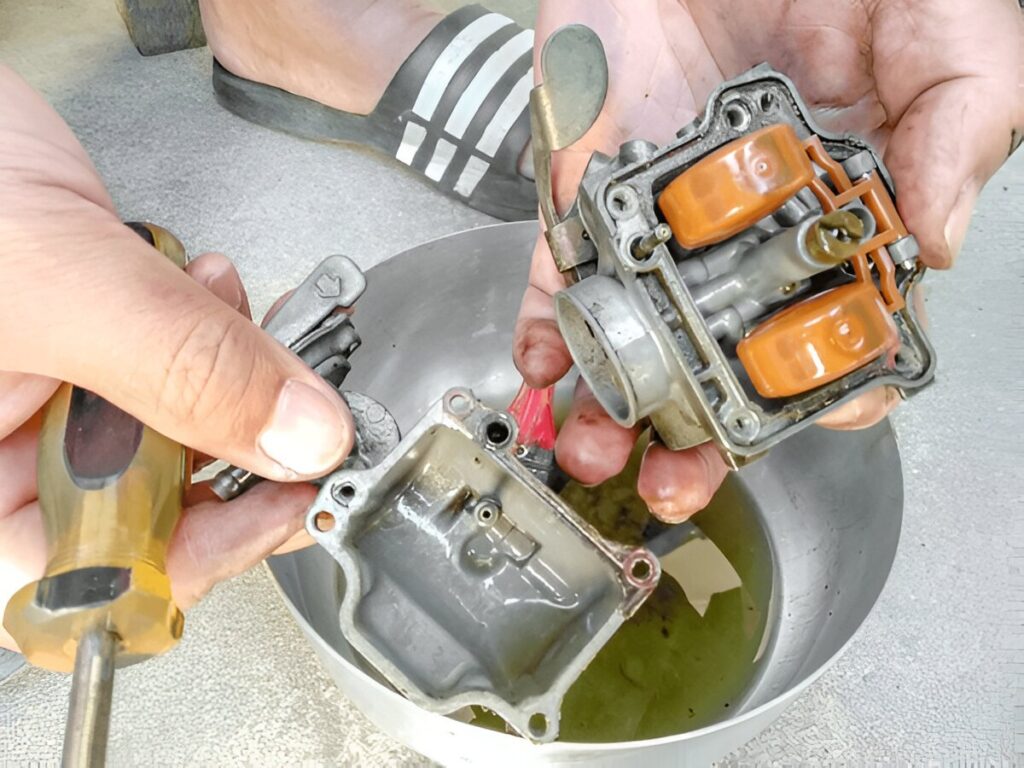
4. Clean the carburetor in a bowl with a brush dipped in clean kerosene, paraffin, or petrol.
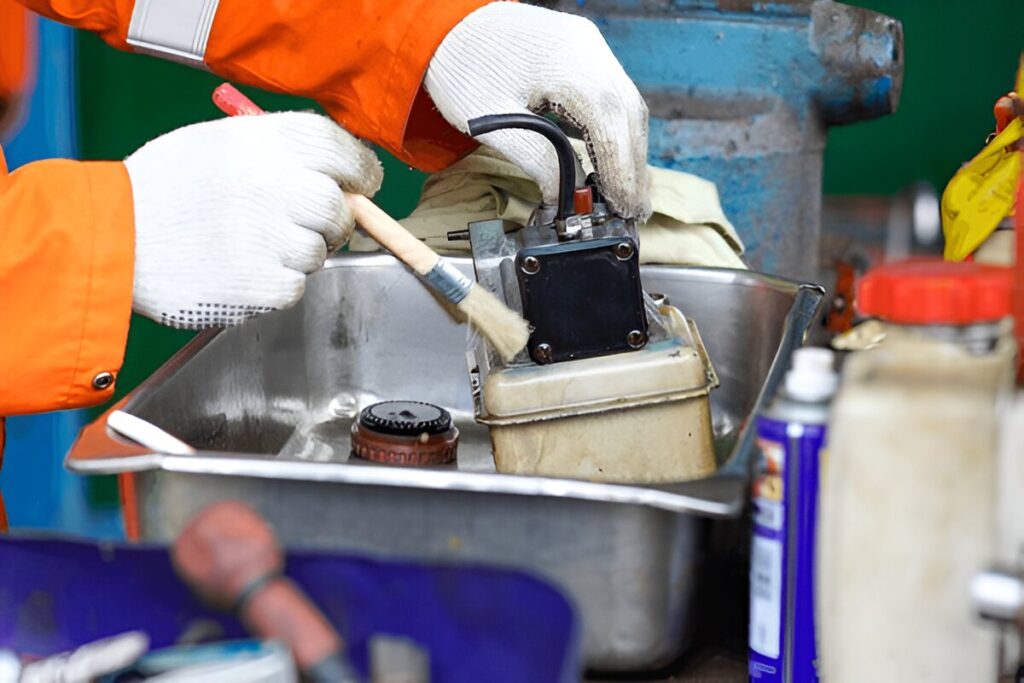
5. Detach the lids by unscrewing the float protector lid screws with a screwdriver. This will allow the needle valve and float to come out together.
6. Open and clean the fuel lines, circuit paths, AC pumps, fuel reservoirs, various jets, needle valve, and accelerating pump by scrubbing them with paraffin and a brush.
7. Avoid washing rubber parts with paraffin or petrol, as these liquids can damage or destroy them.
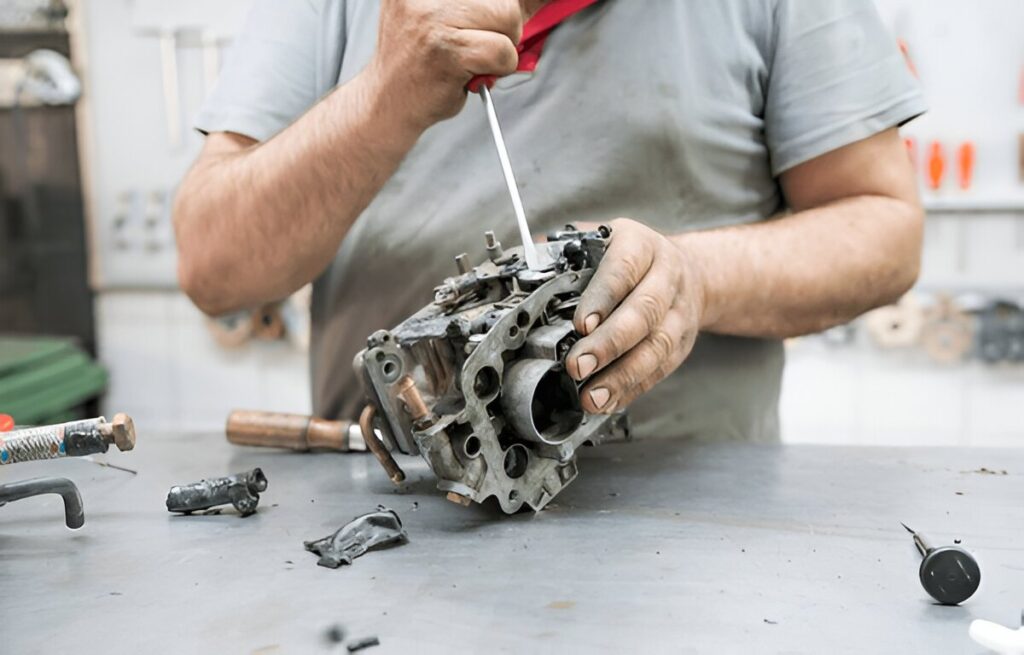
8. Use a compressed air nozzle to spray and clean the bore of the coupling parts.
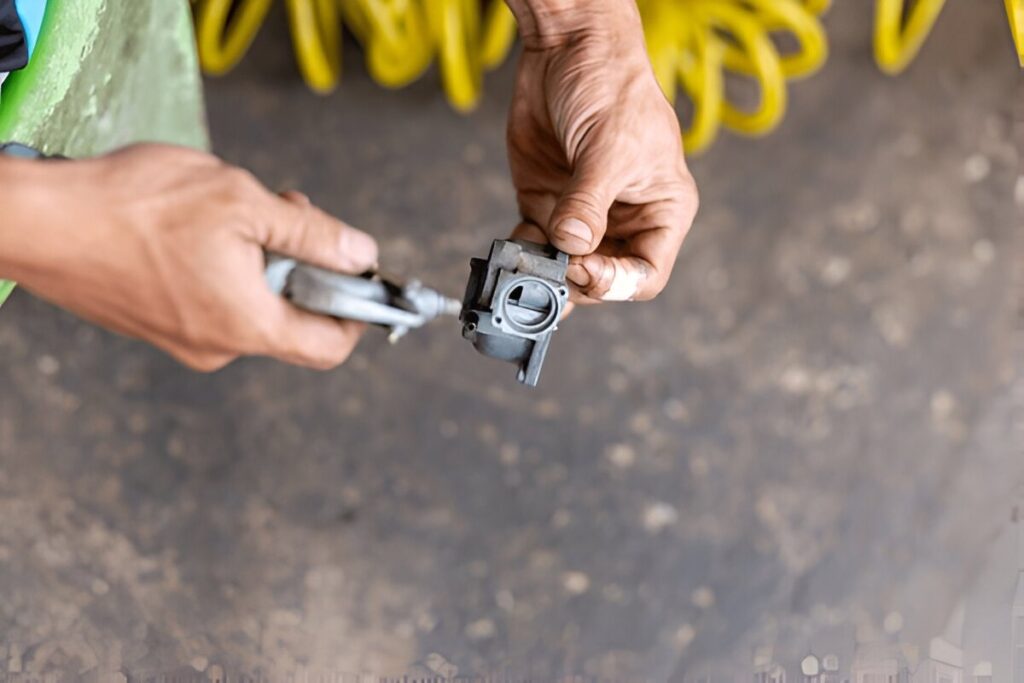
9. Inspect the needle valve and seat valve. If the orifice is enlarged or damaged, it should be replaced.

10. Use carburetor kits for overhauling the carburetor. These kits typically include a carburetor gasket, float chamber gasket, needle valve, diaphragm, metering jet, main jet, idling adjustment screw, accelerating pump piston, spring washer, and other components
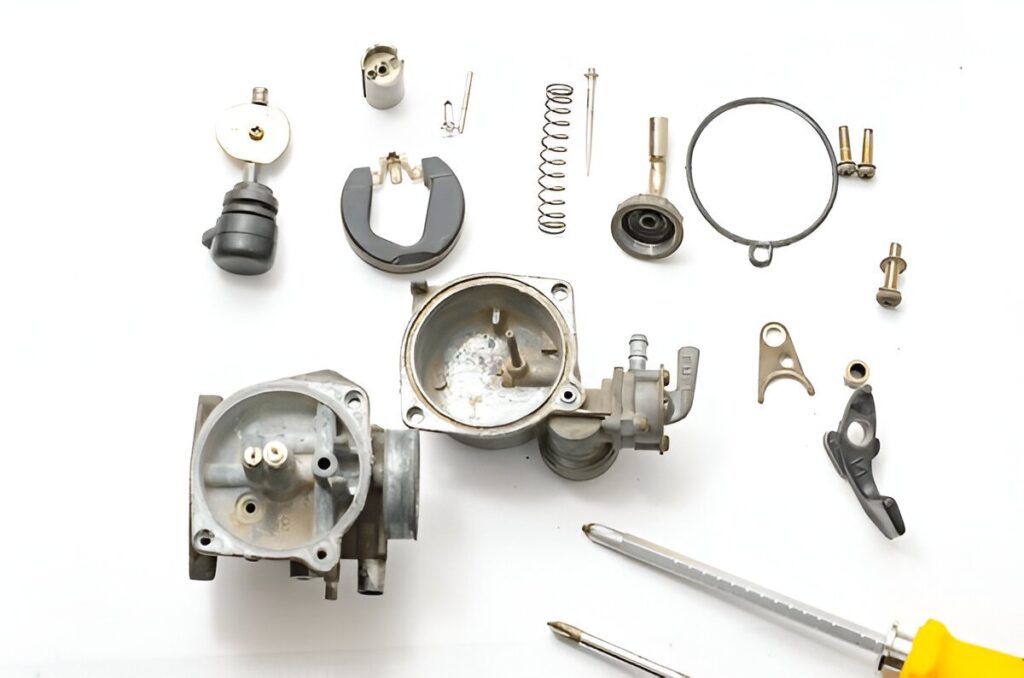
11. Remove the float’s connecting pin and immerse the float in petrol or hot water to check for cracks. If cracks are found, replace the float.
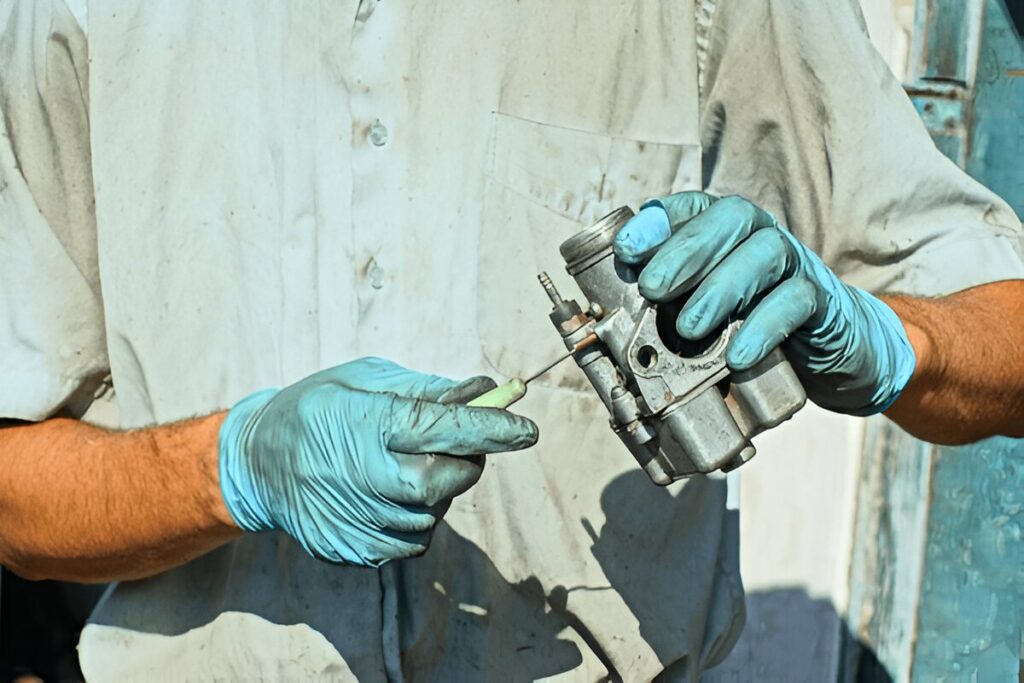
Step 2: Carburetor clean
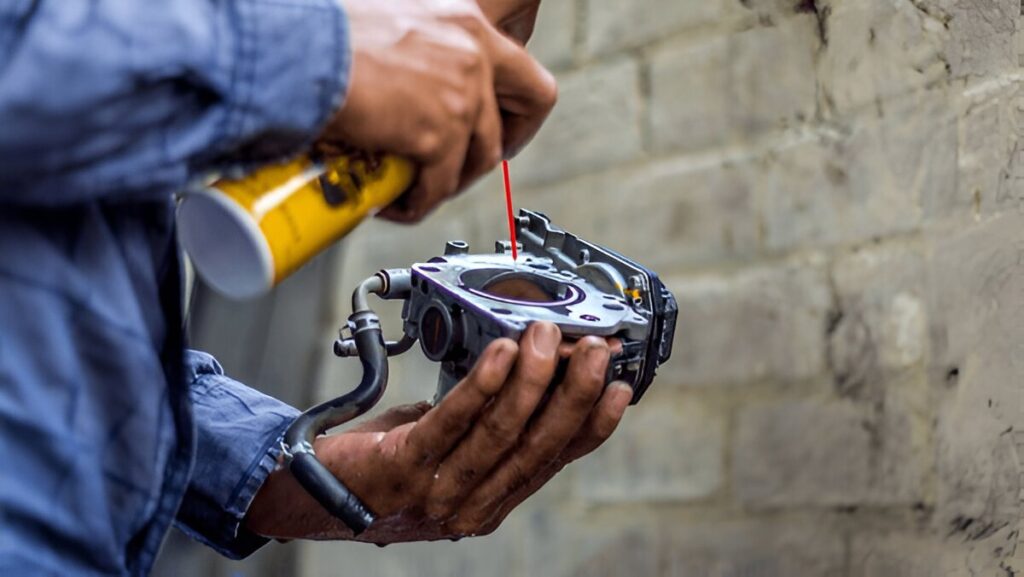
Before commencing the cleaning of the carburetor and its components, it is essential to remove all gaskets and O-rings. The most effective method for cleaning the carburetor and its parts is to immerse them in a gallon of carburetor and parts cleaner. It is advisable to follow the instructions provided on the cleaner’s label for optimal results. Alternatively, components can be cleaned using a spray of carburetor and choke cleaner.
It is imperative to wear safety glasses, and gloves are also recommended during the cleaning process. Components should be scrubbed with a wire brush before being sprayed with carburetor and choke cleaner. Properly clean into the openings from which the jets, air and idle screws, float needle, and choke were removed. When cleaning the jets, ensure that the cleaner is sprayed into the respective holes. To verify that the jets are thoroughly cleaned, hold them up to a light source to check for clarity. If any obstructions remain, using compressed air to blow through the holes will help eliminate residual debris.
Ensure that all debris is completely removed from the carburetor. The most efficient method for drying the carburetor and its components is to use compressed air. Direct the compressed air into all openings and blow off all surfaces of the carburetor. Once everything is dry, install new O-rings and gaskets if available; if not, the old ones may be reused.
Step-3: Carburetor Refitting
The steps for reassembling carburetor parts in sequence are as follows:
1. Components such as needle valves, floats, idling adjustment screws, jets, diaphragm metering jets, etc., should be assembled in sequence. Prior experience is essential for this process.
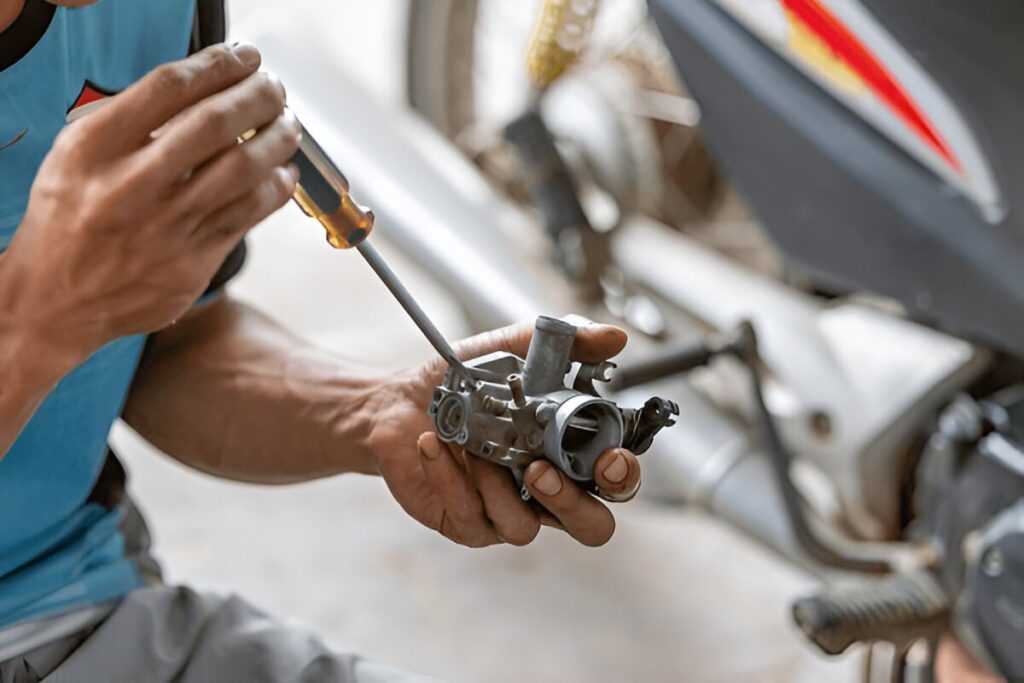
2. Pour some petrol into the float chamber and attach the float chamber lid and the accelerating pump. Operate the pump through the pump linkage to verify if petrol is delivered by the accelerating jet. If the petrol delivery is correct, secure the carburetor screws and tighten the nuts after placing the mounting gasket and positioning the carburetor on the intake manifold.
3. The air cleaner should be installed and connected above the carburetor. If the carburetor has an automatic choke powered by electricity, ensure the electrical connection is made. Some vehicles have slow-running jets powered by electricity; these should also be connected to the carburetor and provided with electricity.
4. Run the engine with the carburetor attached to check for any engine issues caused by the carburetor. Adjust the idling screw as necessary.
Benefits of Clean a Carburetor
The carburetor is a very important part of a petrol engine. The efficiency of the engine depends on it to a large extent. In the carburetor, fuel is mixed in one direction and air in the other direction. However, the air often contains grains of sand, which can clog the carburetor. The accumulation of various types of dirt can cause internal malfunctions in the carburetor. This can block the fuel line, leading to combustion problems. Therefore, keeping the carburetor clean is very important.
Conclusion
Cleaning a carburetor is essential for maintaining optimal engine performance, as it ensures that fuel flows smoothly and efficiently. Regular maintenance can prevent issues such as poor fuel economy and engine misfires

